


Hello everyone, Happy Friday!
I was so delighted when the lovely people at Laura Ashley invited me to take part in their Sew and Stitch challenge, and even more delighted when a beautiful parcel of fabric arrived at my door!

The folks at Laura Ashley are again running a lovely competition! Head over to their blog here to see all four Sew And Stitch posts by different bloggers, if you vote for your favourite post you are in with a chance of winning a £50 Laura Ashley voucher!
My tutorial is after the jump - if you make any rosettes for yourself, I'd love to see them, so please do share with me by tagging me on Instagram or Twitter.
Have a lovely weekend!
Tamsyn x
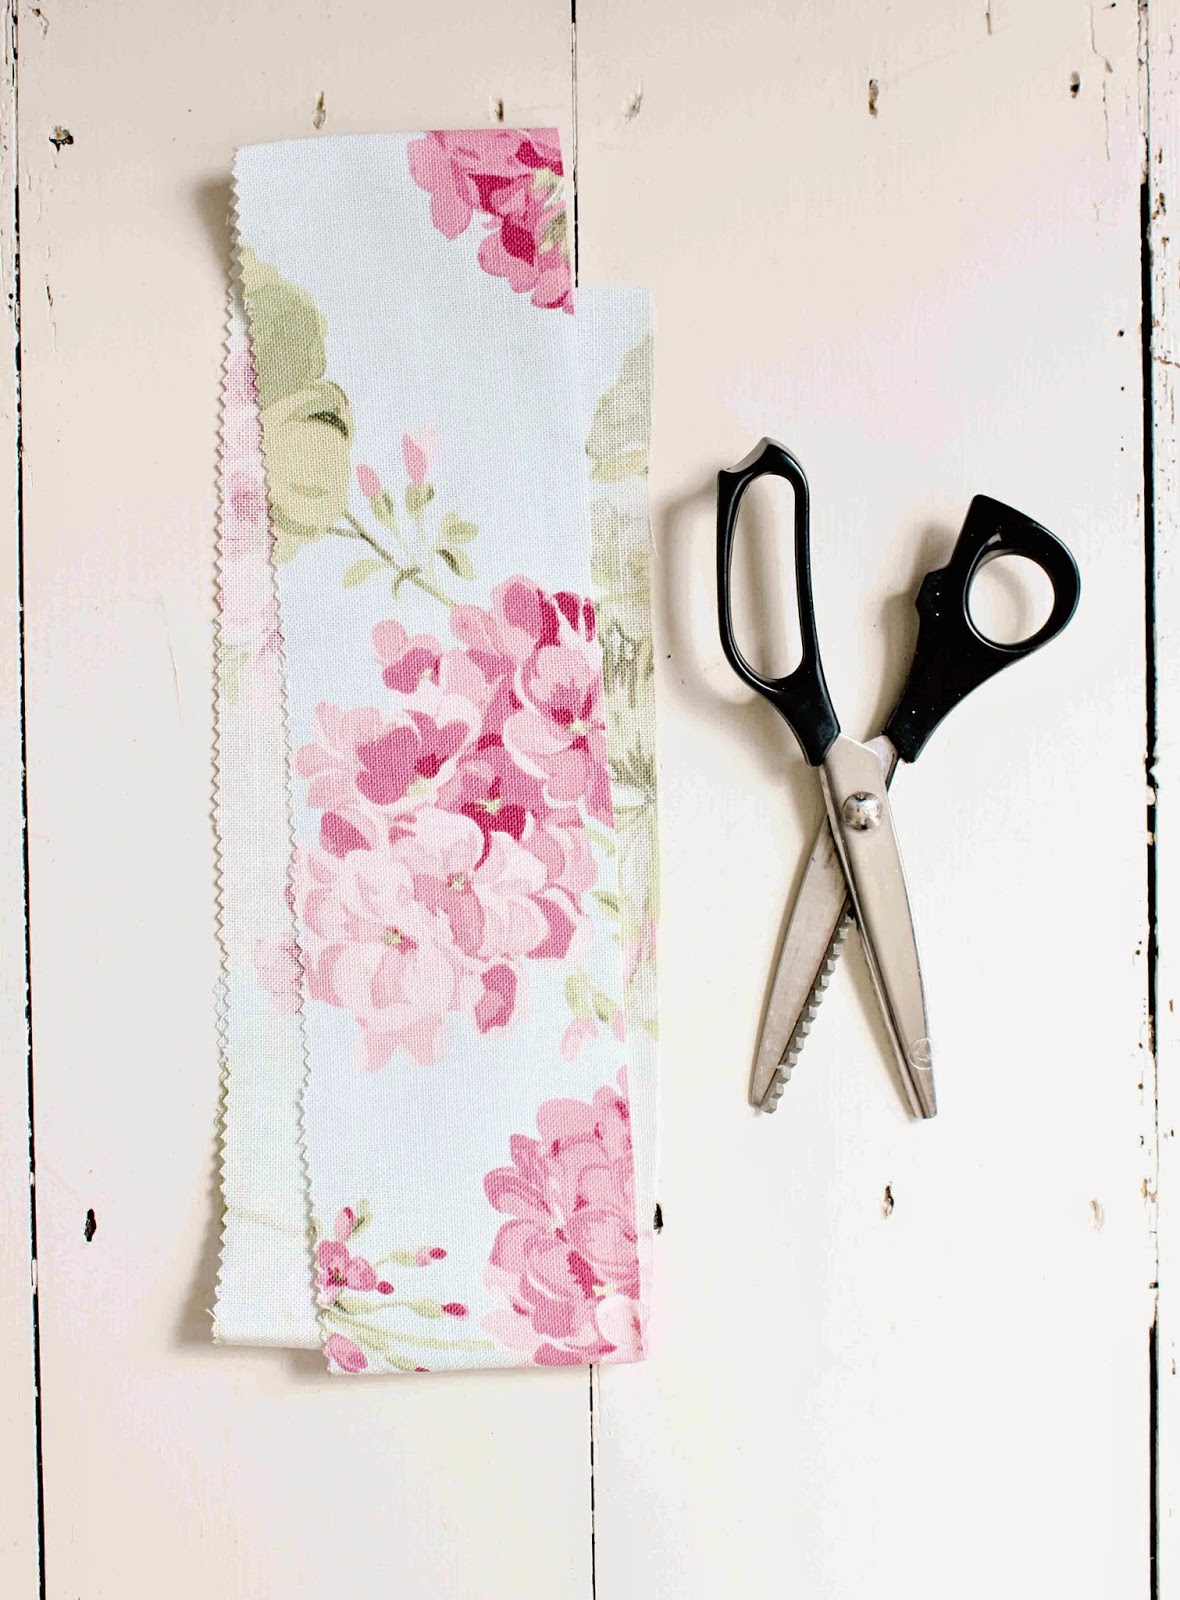
The first step is to cut a length of fabric along the entire width (137cm in the case of my fabrics). I cut strips in two sizes - my smaller rosettes were made from a strip of fabric approximately 10cm wide, whist the big rosettes were made from a strip of fabric 14cm wide. I wouldn’t go any bigger than that, otherwise the rosette will end up a bit floppy.


Once you get to the end of your strip, pull the thread firmly so that the fabric concertinas and forms your rosette. Knot your thread so it’s secure.
To complete your rosette, take the edges, making sure the raw edge is folded towards the back of the fabric, and sew them together neatly leaving you with a pretty ruffled rosette.


Use your fingers to form the ruffles evenly if needs be. It’s then up to you how you decorate your rosette - you could sew strips of fabric, lace or pretty ribbon to the back of your rosette as I have on one of mine, or even sew buttons into the center.
 And there you have it! I hope you have fun making these - happy sewing!
Tamsyn x
No comments
Post a Comment